
I have been talking about my goal setting and planning for the new year part in the last two posts. In keeping with the topic, I would like to share something today that I have never shared on my blog before. My bullet journal.

I discovered bullet journal in 2016. At that time I had discovered and fell in love with Chronodex. Though it was visually more appealing, drawing the chronodex itself every day was a task. I found myself using it less and less when I was busy. So the whole point of using a journal to organize my life was lost.
But I ended up with a beautifully documented 6-7 months!

Around this time, Pinterest took me on the Bullet Journal Train and sure I did enjoy my ride!!! I loved the freedom it offered. And over the months the appearance has sure chaanged. I feel it has transitioned along with my own growth as a person. Somewhere in these years I crossed over the big 4-0 and I feel I have become a much mature person today.

The early days were bright and colorful, sometimes chaotic. BTW, I never stuck to the Dukan diet. It was too much work to cook separate meals for myself.


Then comes the weekly view. Every week is marked and then details are filled.


Apart from these, I also have a gratitude journal that I write in every day (just 3 things I am grateful for) and a financial journal (that tracks my income and expenses everyday). I also have a private journal that I write into when I feel like. Aadi's studies has a separate journal where we keep track of what we are working on and what we have to work on. That is his training for using a journal for himself. He loves my colourful journals and hopes to some day have one for himself too. I would love it if he has one.
One of the most important thing I realized as I went through my old journals for this post is the memories they document. So many things come back to me when I look at a page - and not all of it is written in it! Sometimes its juts one line drawn or just a small star somewhere o nthe page.

I discovered bullet journal in 2016. At that time I had discovered and fell in love with Chronodex. Though it was visually more appealing, drawing the chronodex itself every day was a task. I found myself using it less and less when I was busy. So the whole point of using a journal to organize my life was lost.
But I ended up with a beautifully documented 6-7 months!

Around this time, Pinterest took me on the Bullet Journal Train and sure I did enjoy my ride!!! I loved the freedom it offered. And over the months the appearance has sure chaanged. I feel it has transitioned along with my own growth as a person. Somewhere in these years I crossed over the big 4-0 and I feel I have become a much mature person today.

The early days were bright and colorful, sometimes chaotic. BTW, I never stuck to the Dukan diet. It was too much work to cook separate meals for myself.

This was the time when I launched my old website. This page documents all the preparations I did for that.

I also played around with some layouts and styles. Some looked pretty but really did not have any space for any specific planning.

By 2019, my journal had started becoming more and more minimalist! But The entire March 2018-February 2019 phase was so busy that I barely used my journal except for writing what needed attention/was planned that day.
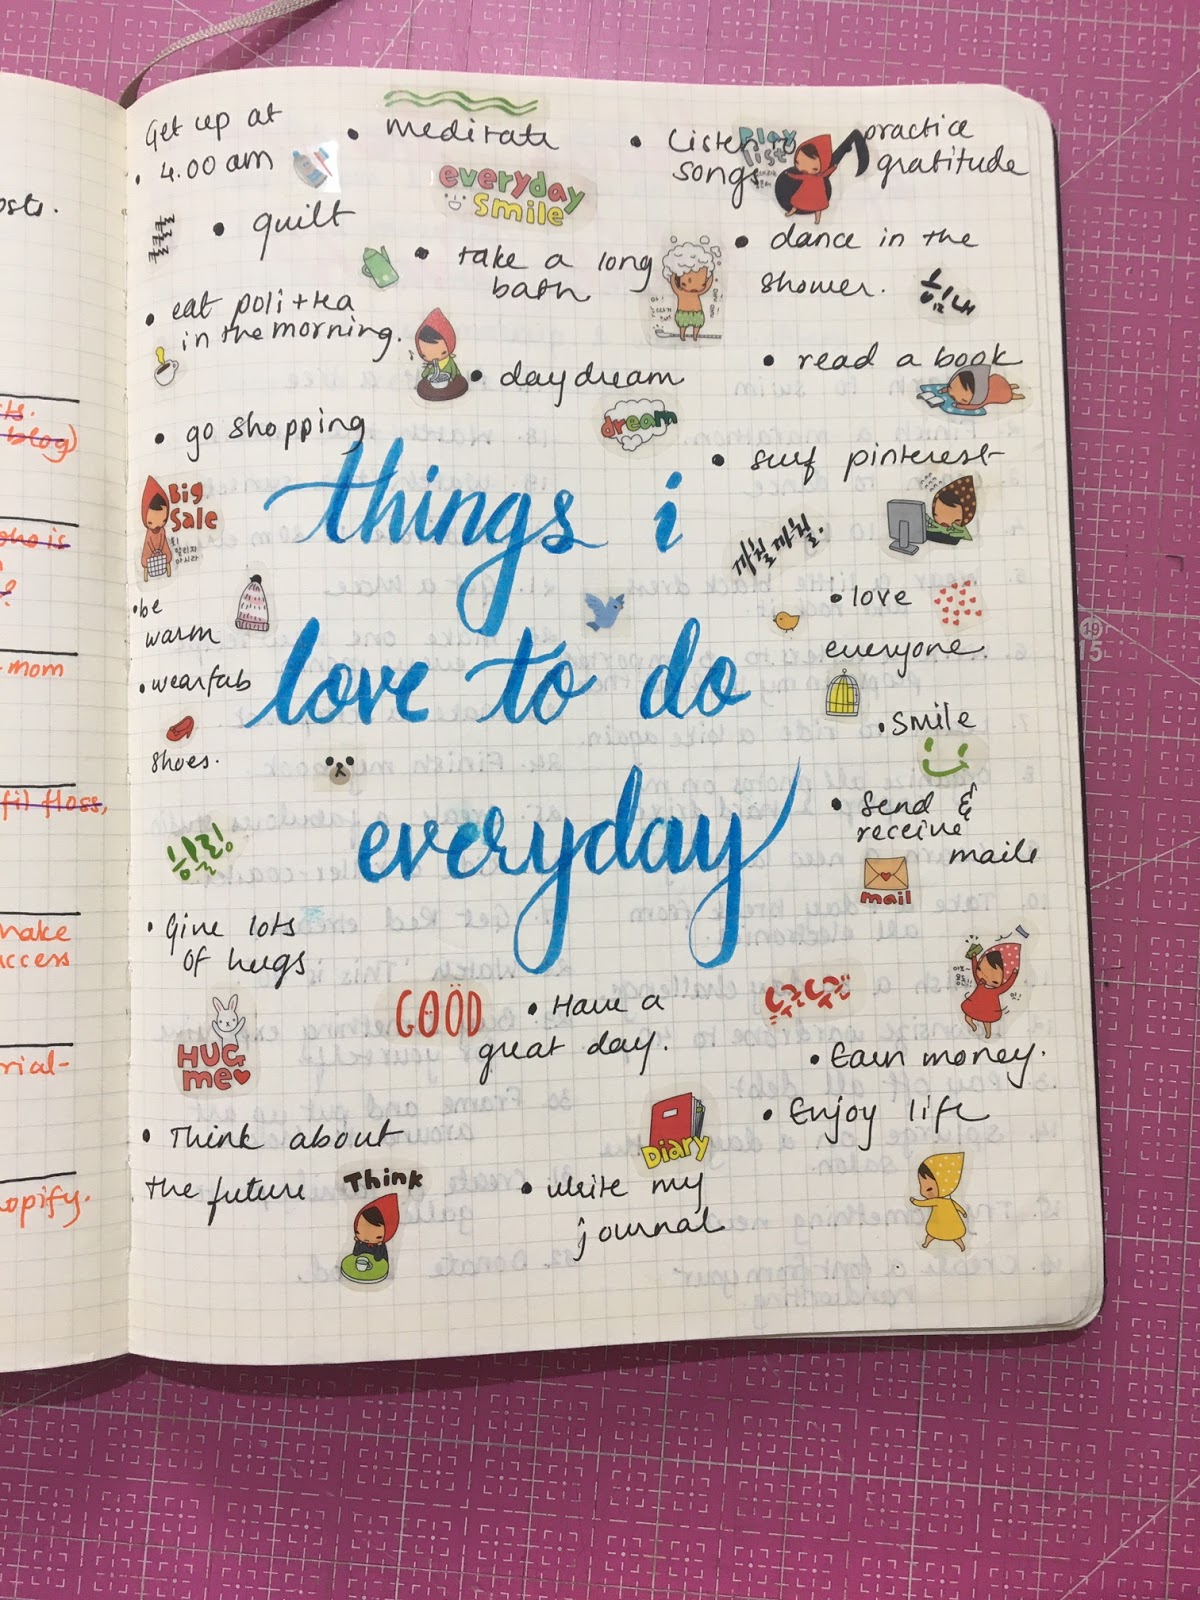
But I did splurge my journal with attention on special occasions. And I love making random lists in it.
At this moment, I am using a combination of a journal with a weekly layout and a notepad with a daily list. The journal has a monthly view for each month where all major events are marked. I add other things as needed.

Then comes the weekly view. Every week is marked and then details are filled.

Along with this weekly layout in my journal, I use a list for every day. This list has been inspired by Palula Rizzo's The Power of Lists. When I read the book, I liked the concept and it has been working really well for me.

Apart from these, I also have a gratitude journal that I write in every day (just 3 things I am grateful for) and a financial journal (that tracks my income and expenses everyday). I also have a private journal that I write into when I feel like. Aadi's studies has a separate journal where we keep track of what we are working on and what we have to work on. That is his training for using a journal for himself. He loves my colourful journals and hopes to some day have one for himself too. I would love it if he has one.
One of the most important thing I realized as I went through my old journals for this post is the memories they document. So many things come back to me when I look at a page - and not all of it is written in it! Sometimes its juts one line drawn or just a small star somewhere o nthe page.


