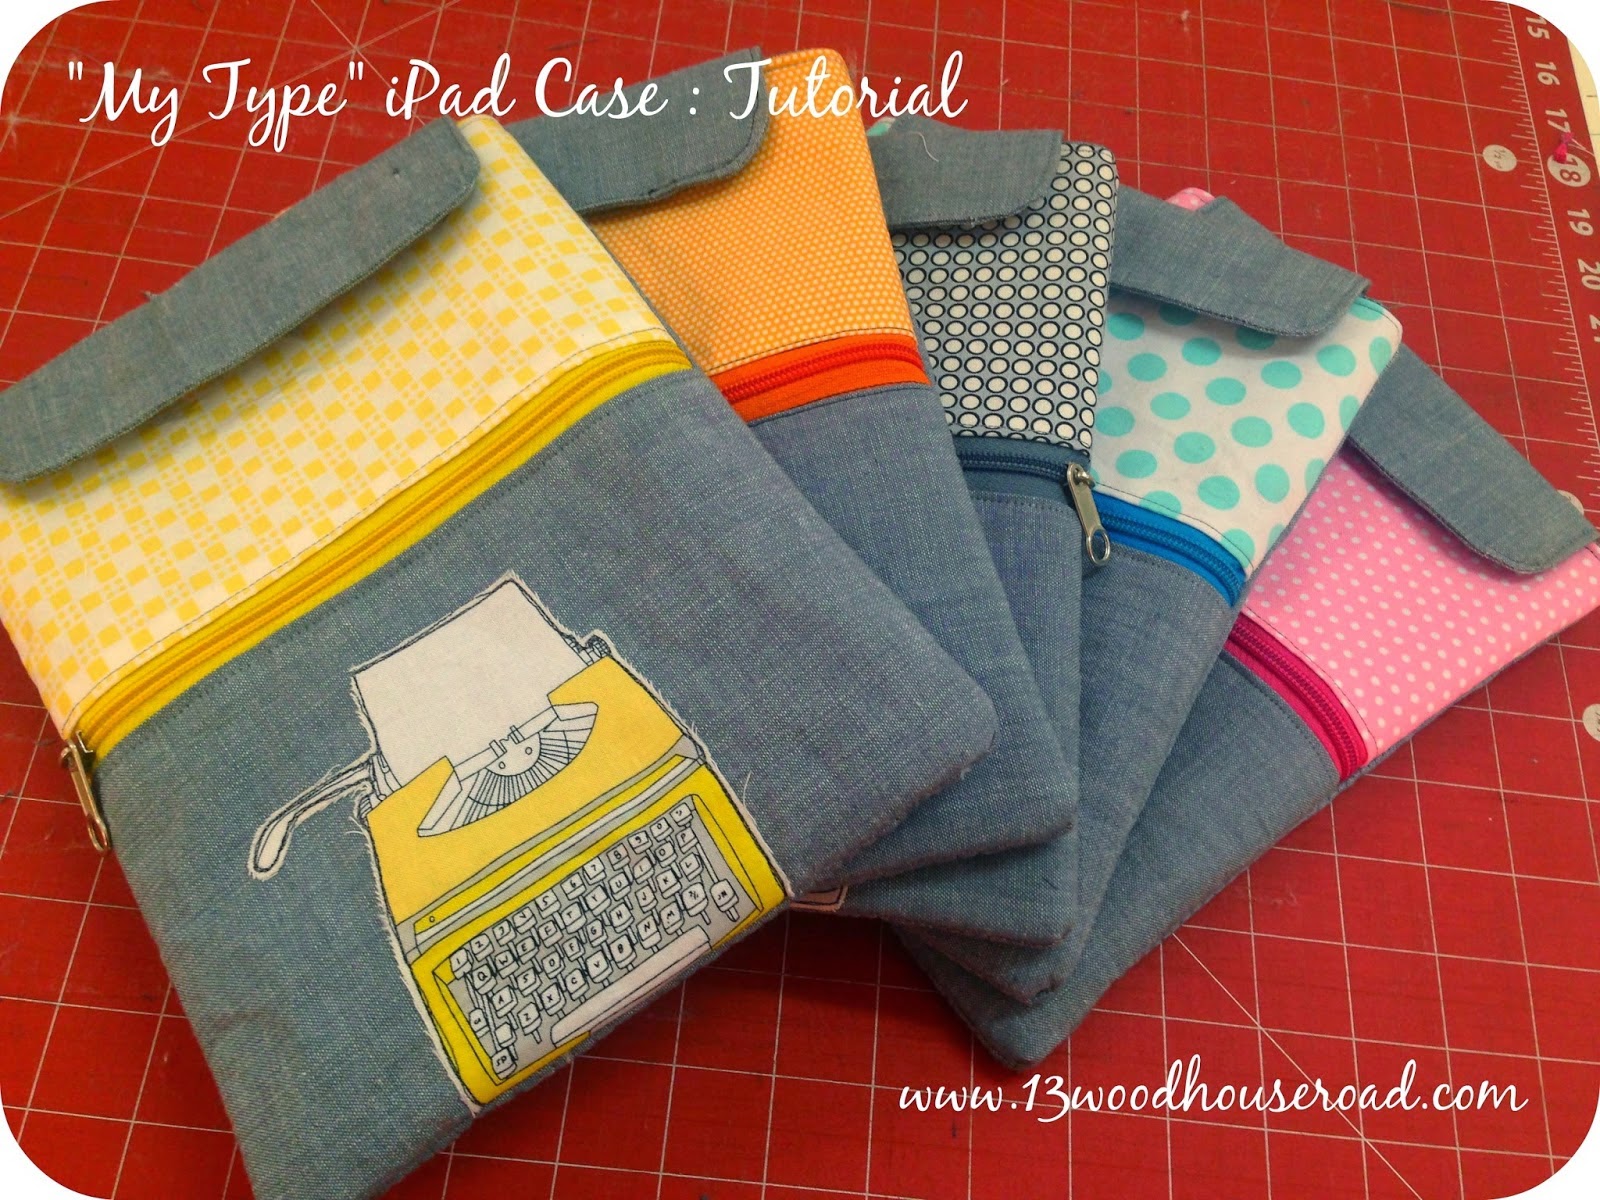
I had the typewriter fabric by Julia Rothman stashed for a long time. With little idea what I'd do with it. I finally gave in and cut it up into cute typewriter appliques! I decided to make iPad cases from it. Then I decided why not write a tutorial for you guys!
So here it is!
This iPad case is easy to whip up
and does not require a whole lot of stuff.
Do not have the typewriter print,
just add any fun fabric applique and you’re ready to go!!!
The finished size is 8.5” x 10.5”. I have used a 1/4" seam allowance. If you want to make it a different size, I'd suggest Add an inch to the dimensions of your gadget.
It has a zipper pocket in the
front to hold the chargers. The tutorial uses magnetic closure, but it can be
replaced with Velcro.
Material Requirements:
Outer Neutral Fabric: Fat Quarter
Highlight Fabric : Fat Eighth
Lining Fabric : Half Yard
Other
Requirements :
Lightweight
Interfacing: I have used this to interface some pieces as well as a backing
when I quilted some pieces. You can ignore the ones marked (Q) if you do not
intend to use them for quilting.
Batting – I
use locally available cotton batting Hi-loft. This can be replaced with Pellon®
fusible fleece. Magnetic
Closure or Velcro.
9" Long Zipper.
Cutting Instructions :
Please take care while cutting directional
prints. The dimensions listed here are Width x Height. Make sure all pieces are
aligned in the same direction before cutting.
From the Outer
Neutral Fabric cut:
O1 - ONE
piece: 9” x 7”
O2 - ONE
piece: 9” x 11”
O3 – TWO
pieces: 7” x 3.5”
From the Highlight
Fabric cut:
P1 - ONE
piece: 9” x 5”
From
the Lining Fabric cut:
L1 – THREE pieces: 9”
x 11”
L2 - ONE
piece: 9”
x 7”
L3 - ONE
piece: 9”
x 5”
From the
Lightweight Interfacing cut:
I1 - TWO pieces: 9” x 11” (Q)
I2 - ONE
piece: 9”
x 7”
I3 - ONE
piece: 9”
x 5”
I4 - TWO pieces: 7” x 3.5”
From the
Applique Fabric cut:
A1 – ONE
piece: Fussy cut Motif
From the
Batting cut:
B1 – TWO
pieces: 9” x 11”
Instructions:
Pair the following pieces of Fabric and interfacing and iron them on.
I2 – O1, I3 – P1 & I4 – O3
Take the O2 piece and ONE of the three L1 pieces. Iron on the Pellon ®
Fusible Fleece to the wrong side or sandwich the batting along with the I1
Interfacing piece as the backing
(optional).
Quilt the sandwiches as desired. Trim away the excess batting.
Take the O1 piece and applique the fussy cut motif of top. I used raw
edge applique technique.
To attach the zipper, fold over the 9” edge of O1, P1, L2 & L3
Wrong Sides Together and iron.
Align the Lining piece with the zipper and stitch.
Repeat with the Outer piece. And then repeat on the other side. Trim it to 9" x 11"
Your front panel is ready.
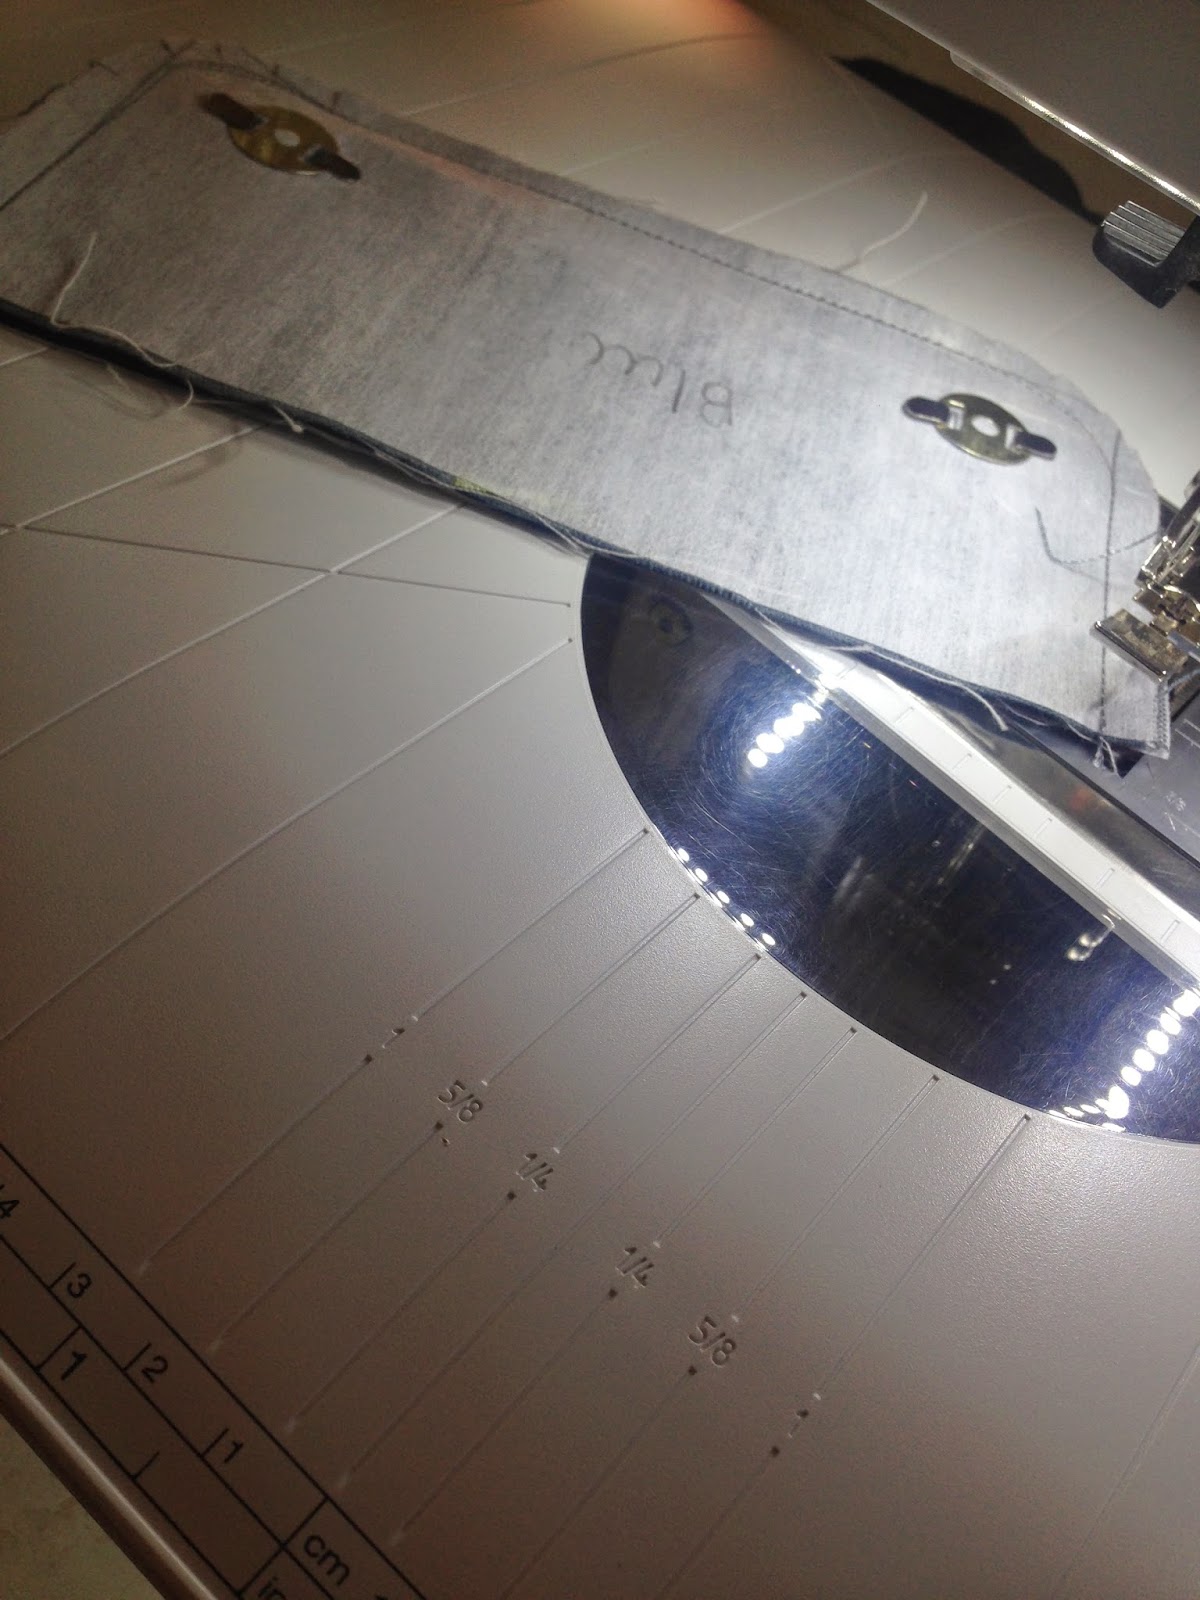
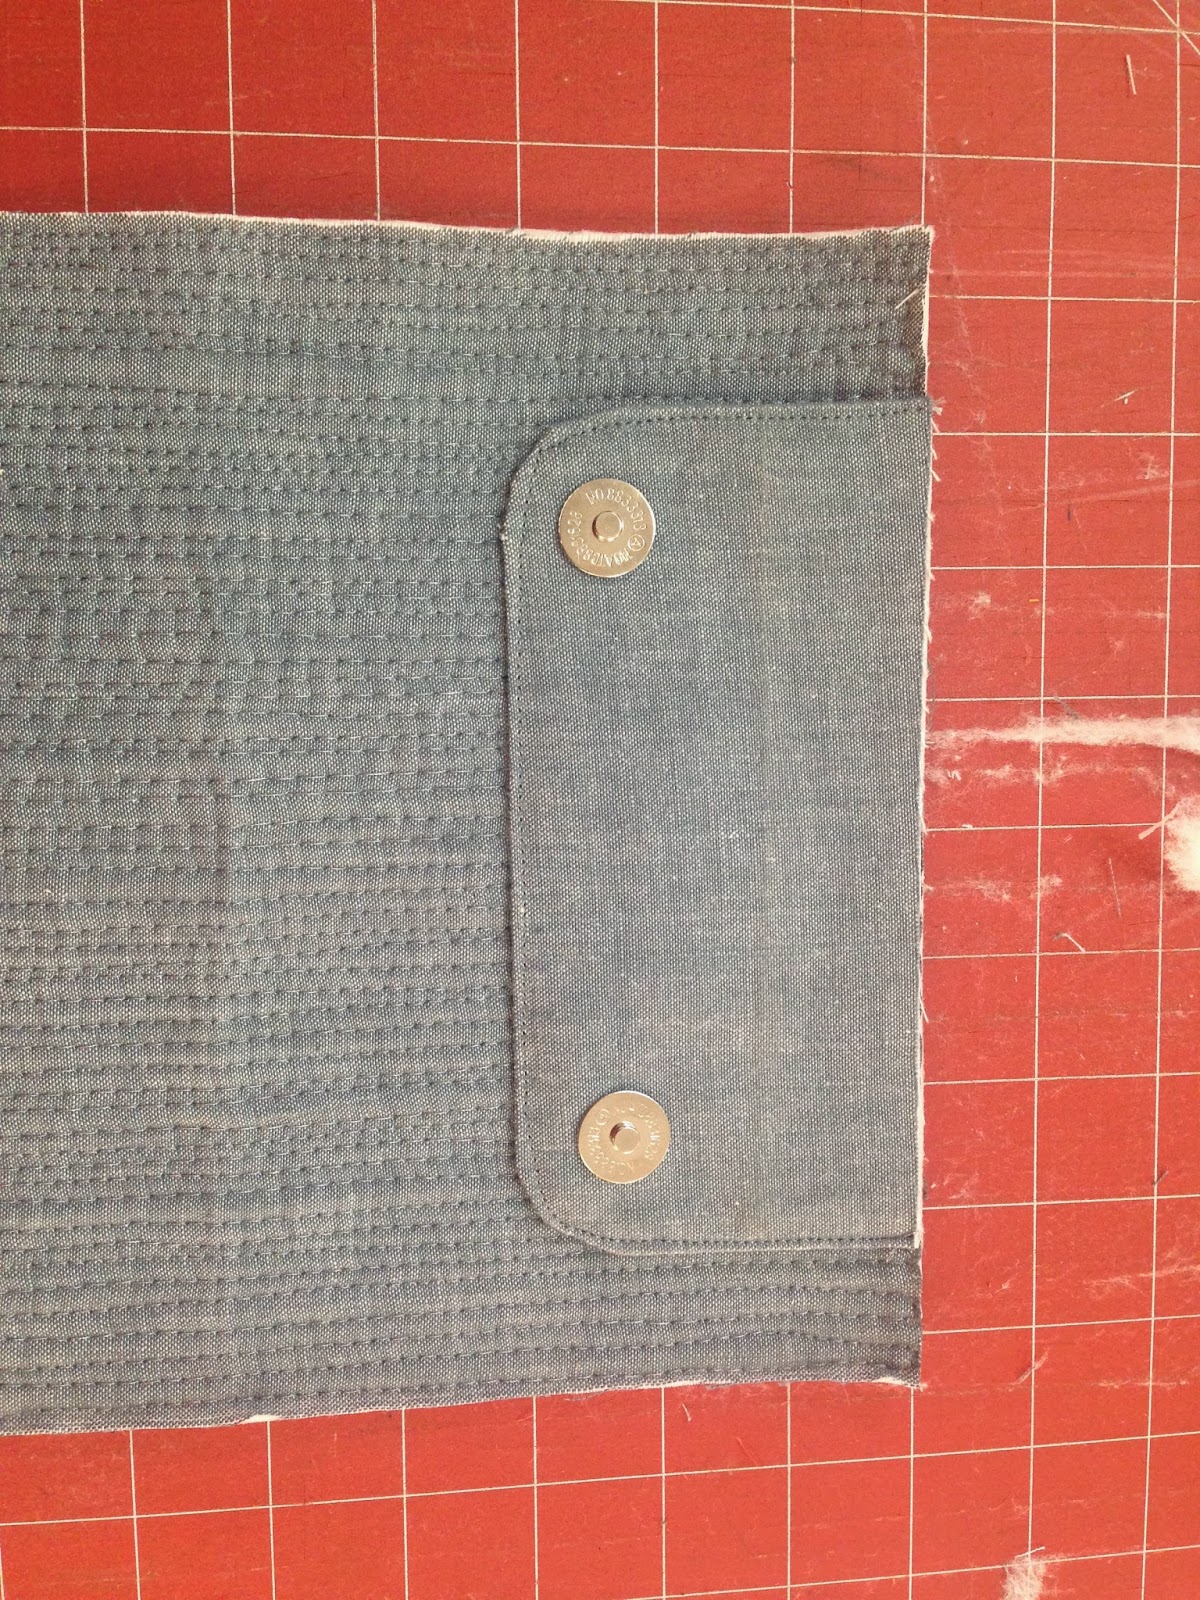
Take the two O3 pieces. On one of them attach the magnetic closures
about 1” away from the edges, as per manufacturer’s instructions. You can even
use Velcro. Attach the rough side here.
On the wrong side, mark curves for corners. I used an Aurifil spool!!!
Now stitch along 3 sides.
Turn inside out and topstitch.
Lay your quilted outer piece Right Side Up. Lay the Flap piece as
shown.
Make sure the pieces are aligned in the center. Now lay one lining
piece Right Side Down and pin on the shorter edge.
Stitch along pinned edge.
Now mark the position of the other components of magnetic snaps or
Velcro onto the Highlight fabric on the Front panel. Once again attach
according to manufacturer’s instructions.
Now lay the quilted lining piece RIGHT SIDE UP. Follow with the front
panel piece Right Side Up. And finally the lining piece Right Side Down.
Pin along top edge and stitch.
Press the seams open. Now lay the two pieces aligning the edges of the quilted
panels and the lining fabric.
Pin along all sides and stitch leaving a 4” wide opening in the lining to
pull it out.
Pull it right side out. Hand stitch the opening. And topstitch along the
edge to finish!!!